Day 10 of the bucking solution finally arrived and I was ready for action. Cleared my schedule so I could work on the hide all day. (Well, I'm on break, so let's be honest...not much to clear from the schedule, but it was very good that I had large chunks of time available so I didn't feel rushed.)
I started the process by rinsing the hide with water to remove the wood ash.
 |
| Well now, the composition of this photo is not quite what I had in mind, but I think you can still understand what's happening. |
Then, I made a dress! A dress out of a hefty bag! I was going to embellish it a bit more, maybe make some designs out of various colors of duct tape, but I had to stay on task.
 |
| Why yes, that is an empire waist on my hefty dress. |
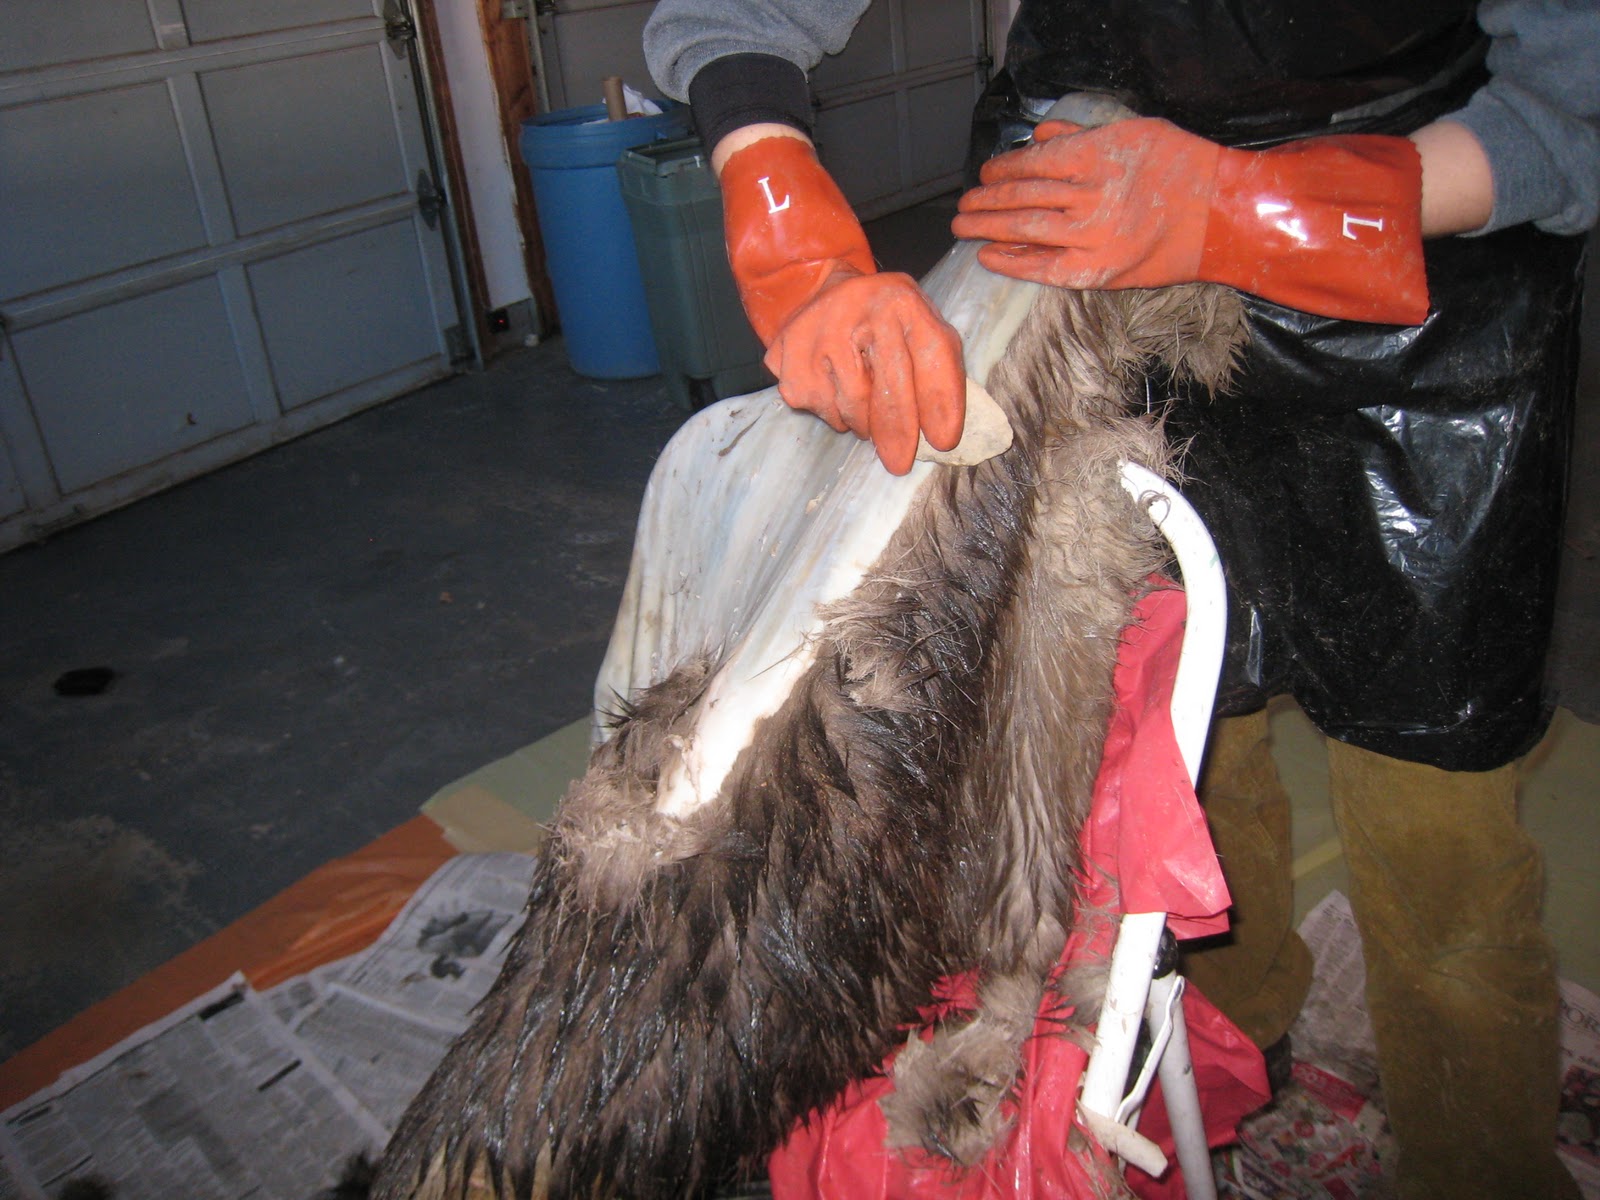
I placed the hide on my graining beam like I described in the last post-- with one end of the hide held in place between my stomach and the end of the beam. I leaned into the edge of the beam, and since it was angled down to the corner of the floor and wall, it stayed in place. The step ladder provided extra stability and support.
I wanted to scrape my drawknife down with the grain, meaning the direction that the hair grows. This ensured that I removed the hair follicles and the grain layer. If I went against the grain (like petting a dog in the opposite way the hair grows), then I risked cutting off the hair only and leaving the follicle in the grain.
 |
| The wet hair shows the direction of the grain. |
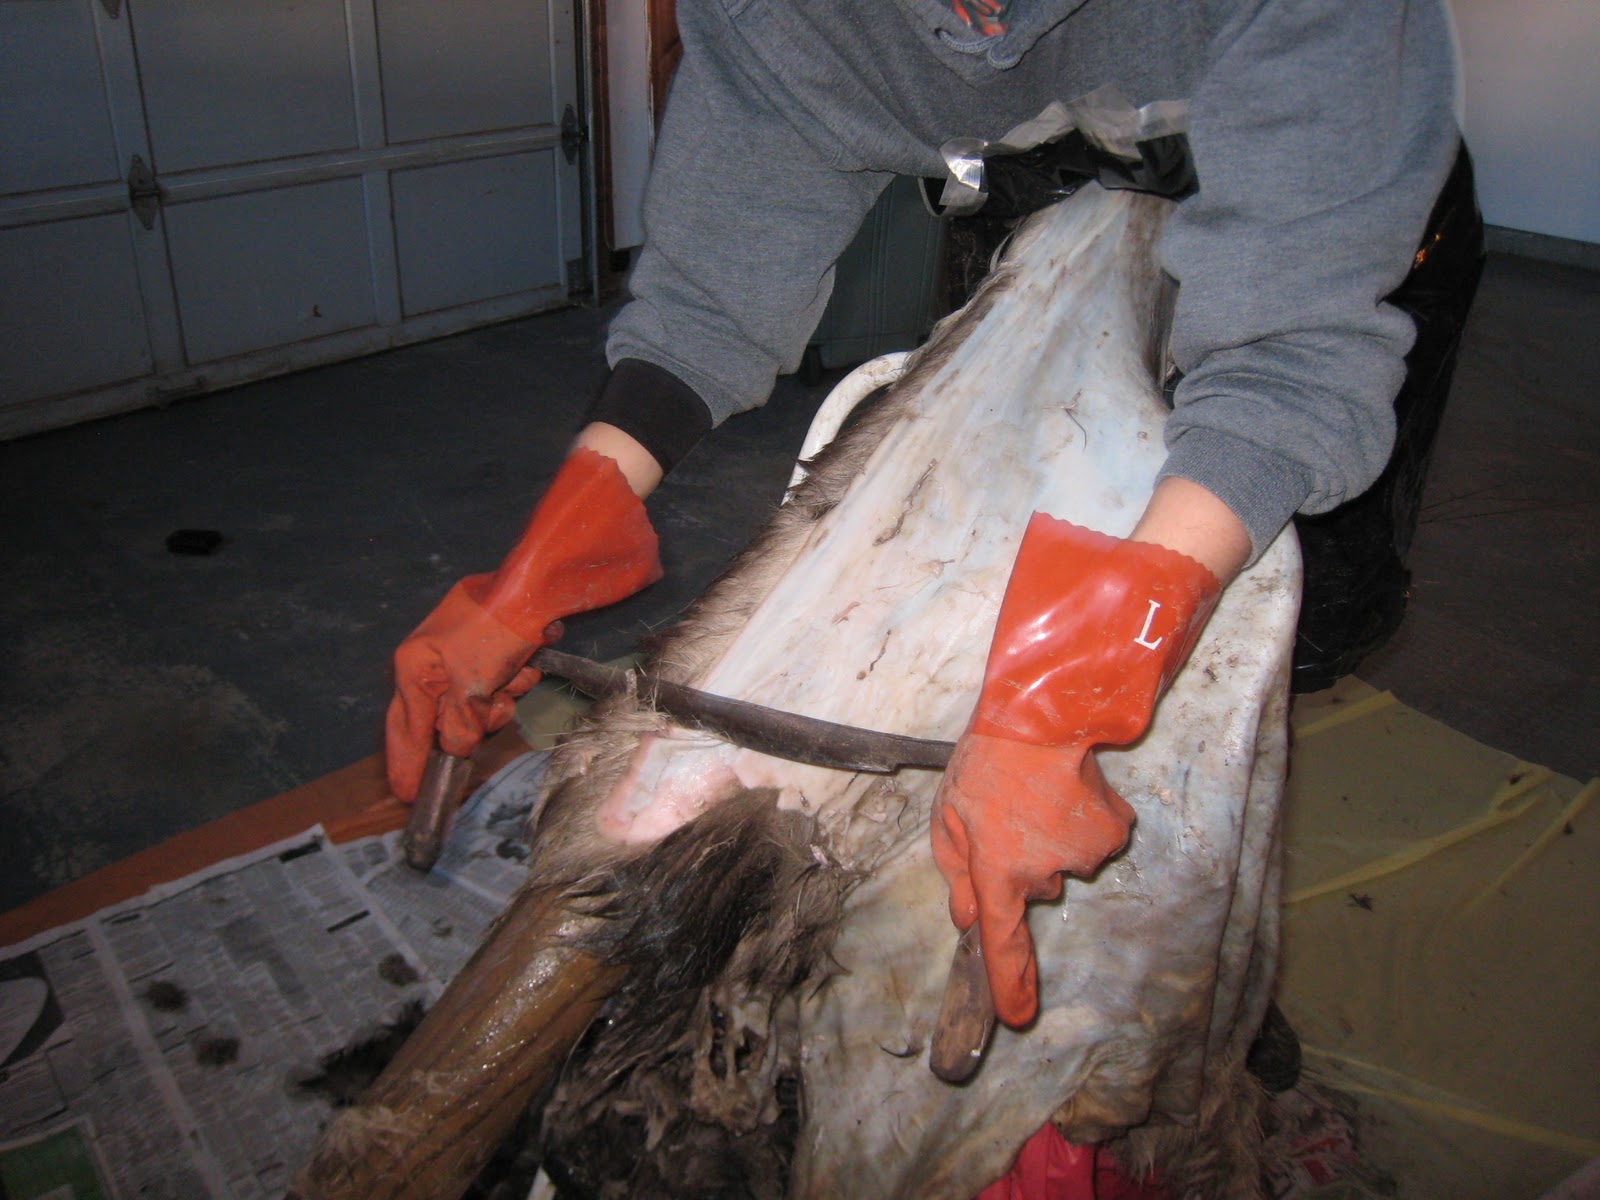
I tried to be meticulous with the removal of the grain, working in one area until it was completely gone. The book warned that if I didn't do this, I'd become frustrated and think of suicide (no joke!). It took five full hours of continuous removal, exactly what the book said it would take. The palms of my hands were sore and bruised by the time I was done. Although my drawknife has the perfect edge, the handles are positioned as if using it by pulling down (as demonstrated when I de-fleshed), and not pushing away from the body. I should have constructed padded areas, but I was running on adrenaline (takes force to remove the grain) and by the time I realized it was uncomfortable, I was almost finished. (That's my soapbox moment to tell you to think through your tools and set-up to make sure everything will be comfortable and ergonomically correct.)
 |
| Look closely at the center of this photo, where the hair is still attached. That's a tick! Gross! I found TWO while graining. (Both dead, thank goodness.) |
 |
| My grandparents let me borrow two Native American-style stone scrapers. One was "authentic" and found in a field, and one was fashioned by my uncle. The metal was much faster, but it was pretty neat to work with stone. |
 |
| You can see the grain really well in this photo- it's the pinkish layer that's between the hair and the white hide. (The hair fell out without removing the grain in many places, but the point is to get the grain, not the hair alone.) |
 |
| Almost done! |
 |
| Whew. There were many holes around the edges of the hide from when it was skinned, but I may have added my own along the way... Bummer, but to be expected for a novice. If you decide to tan, try to get a hide that has been removed from the animal by pulling it off, not using a knife. |
 |
| The aftermath. |
Why remove the grain? There are processes that allow you to keep the hair (for the luscious bear skin rugs), but I want buckskin/leather, so the hair must be removed. The grain must be removed, too, so that the oils from the brain can penetrate the hide to make it soft, and so it'll be easier to physically stretch open the fibers during the last step.


Great job..........5 hours, whew!!! Your dressmaking design talent had been kept secret up until now! Runway material, to be sure.
ReplyDelete